在 XmlBeanDefinitionReader.doLoadDocument() 方法中做了两件事情,一是调用 getValidationModeForResource() 获取 XML 的验证模式,二是调用 DocumentLoader.loadDocument() 获取 Document 对象。上篇博客已经分析了获取 XML 验证模式(【死磕Spring】----- IOC 之 获取验证模型),这篇我们分析获取 Document 对象。 获取 Document 的策略由接口 DocumentLoader 定义,如下:
            public interface DocumentLoader {
                Document loadDocument(
                        InputSource inputSource, EntityResolver entityResolver,
                        ErrorHandler errorHandler, int validationMode, boolean namespaceAware)
                        throws Exception;

            }
DocumentLoader 中只有一个方法
loadDocument() ,该方法接收五个参数: * inputSource:加载 Document 的 Resource 源 * entityResolver:解析文件的解析器 * errorHandler:处理加载 Document 对象的过程的错误 * validationMode:验证模式 * namespaceAware:命名空间支持。如果要提供对 XML 名称空间的支持,则为true 该方法由 DocumentLoader 的默认实现类 DefaultDocumentLoader 实现,如下:
                public Document loadDocument(InputSource inputSource, EntityResolver entityResolver,
                        ErrorHandler errorHandler, int validationMode, boolean namespaceAware) throws Exception {

                    DocumentBuilderFactory factory = createDocumentBuilderFactory(validationMode, namespaceAware);
                    if (logger.isDebugEnabled()) {
                        logger.debug("Using JAXP provider [" + factory.getClass().getName() + "]");
                    }
                    DocumentBuilder builder = createDocumentBuilder(factory, entityResolver, errorHandler);
                    return builder.parse(inputSource);
                }
首先调用
createDocumentBuilderFactory() 创建 DocumentBuilderFactory ,再通过该 factory 创建 DocumentBuilder,最后解析 InputSource 返回 Document 对象。
EntityResolver 通过
loadDocument() 获取 Document 对象时,有一个参数 entityResolver ,该参数是通过 getEntityResolver() 获取的。
getEntityResolver()返回指定的解析器,如果没有指定,则构造一个未指定的默认解析器。
                protected EntityResolver getEntityResolver() {
                    if (this.entityResolver == null) {
                        ResourceLoader resourceLoader = getResourceLoader();
                        if (resourceLoader != null) {
                            this.entityResolver = new ResourceEntityResolver(resourceLoader);
                        }
                        else {
                            this.entityResolver = new DelegatingEntityResolver(getBeanClassLoader());
                        }
                    }
                    return this.entityResolver;
                }
如果 ResourceLoader 不为 null,则根据指定的 ResourceLoader 创建一个 ResourceEntityResolver。如果 ResourceLoader 为null,则创建 一个 DelegatingEntityResolver,该 Resolver 委托给默认的 BeansDtdResolver 和 PluggableSchemaResolver 。
- ResourceEntityResolver:继承自 EntityResolver ,通过 ResourceLoader 来解析实体的引用。
- DelegatingEntityResolver:EntityResolver 的实现,分别代理了 dtd 的 BeansDtdResolver 和 xml schemas 的 PluggableSchemaResolver。
- BeansDtdResolver : spring bean dtd 解析器。EntityResolver 的实现,用来从 classpath 或者 jar 文件加载 dtd。
- PluggableSchemaResolver:使用一系列 Map 文件将 schema url 解析到本地 classpath 资源
getEntityResolver() 返回 EntityResolver ,那这个 EntityResolver 到底是什么呢?
If a SAX application needs to implement customized handling for external entities, it must implement this interface and register an instance with the SAX driver using the setEntityResolver method.
就是说:如果 SAX 应用程序需要实现自定义处理外部实体,则必须实现此接口并使用setEntityResolver()向 SAX 驱动器注册一个实例。 如下:
               public class MyResolver implements EntityResolver {
                 public InputSource resolveEntity (String publicId, String systemId){
                   if (systemId.equals("http://www.myhost.com/today")){
                     MyReader reader = new MyReader();
                     return new InputSource(reader);
                   } else {
                        // use the default behaviour
                        return null;
                   }
                 }
               }
我们首先将
spring-student.xml 文件中的 XSD 声明的地址改掉,如下:
 如果我们再次运行,则会报如下错误:
 从上面的错误可以看到,是在进行文档验证时,无法根据声明找到 XSD 验证文件而导致无法进行 XML 文件验证。在(【死磕Spring】----- IOC 之 获取验证模型)中讲到,如果要解析一个 XML 文件,SAX 首先会读取该 XML 文档上的声明,然后根据声明去寻找相应的 DTD 定义,以便对文档进行验证。默认的加载规则是通过网络方式下载验证文件,而在实际生产环境中我们会遇到网络中断或者不可用状态,那么就应用就会因为无法下载验证文件而报错。
EntityResolver 的作用就是应用本身可以提供一个如何寻找验证文件的方法,即自定义实现。 接口声明如下:
            public interface EntityResolver {
                public abstract InputSource resolveEntity (String publicId,String systemId)
                    throws SAXException, IOException;
            }
接口方法接收两个参数 publicId 和 systemId,并返回 InputSource 对象。两个参数声明如下:
-
publicId:被引用的外部实体的公共标识符,如果没有提供,则返回null
-
systemId:被引用的外部实体的系统标识符 这两个参数的实际内容和具体的验证模式有关系。如下
-
XSD 验证模式
- publicId:null
- systemId:http://www.springframework.org/schema/beans/spring-beans.xsd
-
DTD 验证模式
- publicId:-//SPRING//DTD BEAN 2.0//EN
- systemId:http://www.springframework.org/dtd/spring-beans.dtd 如下:

 我们知道在 Spring 中使用 DelegatingEntityResolver 为 EntityResolver 的实现类,
resolveEntity() 实现如下:
                public InputSource resolveEntity(String publicId, @Nullable String systemId) throws SAXException, IOException {
                    if (systemId != null) {
                        if (systemId.endsWith(DTD_SUFFIX)) {
                            return this.dtdResolver.resolveEntity(publicId, systemId);
                        }
                        else if (systemId.endsWith(XSD_SUFFIX)) {
                            return this.schemaResolver.resolveEntity(publicId, systemId);
                        }
                    }
                    return null;
                }
不同的验证模式使用不同的解析器解析,如果是 DTD 验证模式则使用 BeansDtdResolver 来进行解析,如果是 XSD 则使用 PluggableSchemaResolver 来进行解析。 BeansDtdResolver 的解析过程如下:
                public InputSource resolveEntity(String publicId, @Nullable String systemId) throws IOException {
                    if (logger.isTraceEnabled()) {
                        logger.trace("Trying to resolve XML entity with public ID [" + publicId +
                                "] and system ID [" + systemId + "]");
                    }
                    if (systemId != null && systemId.endsWith(DTD_EXTENSION)) {
                        int lastPathSeparator = systemId.lastIndexOf('/');
                        int dtdNameStart = systemId.indexOf(DTD_NAME, lastPathSeparator);
                        if (dtdNameStart != -1) {
                            String dtdFile = DTD_NAME + DTD_EXTENSION;
                            if (logger.isTraceEnabled()) {
                                logger.trace("Trying to locate [" + dtdFile + "] in Spring jar on classpath");
                            }
                            try {
                                Resource resource = new ClassPathResource(dtdFile, getClass());
                                InputSource source = new InputSource(resource.getInputStream());
                                source.setPublicId(publicId);
                                source.setSystemId(systemId);
                                if (logger.isDebugEnabled()) {
                                    logger.debug("Found beans DTD [" + systemId + "] in classpath: " + dtdFile);
                                }
                                return source;
                            }
                            catch (IOException ex) {
                                if (logger.isDebugEnabled()) {
                                    logger.debug("Could not resolve beans DTD [" + systemId + "]: not found in classpath", ex);
                                }
                            }
                        }
                    }
            or wherever.
                    return null;
                }
从上面的代码中我们可以看到加载 DTD 类型的
BeansDtdResolver.resolveEntity() 只是对 systemId 进行了简单的校验(从最后一个 / 开始,内容中是否包含 spring-beans),然后构造一个 InputSource 并设置 publicId、systemId,然后返回。 PluggableSchemaResolver 的解析过程如下:
                public InputSource resolveEntity(String publicId, @Nullable String systemId) throws IOException {
                    if (logger.isTraceEnabled()) {
                        logger.trace("Trying to resolve XML entity with public id [" + publicId +
                                "] and system id [" + systemId + "]");
                    }

                    if (systemId != null) {
                        String resourceLocation = getSchemaMappings().get(systemId);
                        if (resourceLocation != null) {
                            Resource resource = new ClassPathResource(resourceLocation, this.classLoader);
                            try {
                                InputSource source = new InputSource(resource.getInputStream());
                                source.setPublicId(publicId);
                                source.setSystemId(systemId);
                                if (logger.isDebugEnabled()) {
                                    logger.debug("Found XML schema [" + systemId + "] in classpath: " + resourceLocation);
                                }
                                return source;
                            }
                            catch (FileNotFoundException ex) {
                                if (logger.isDebugEnabled()) {
                                    logger.debug("Couldn't find XML schema [" + systemId + "]: " + resource, ex);
                                }
                            }
                        }
                    }
                    return null;
                }
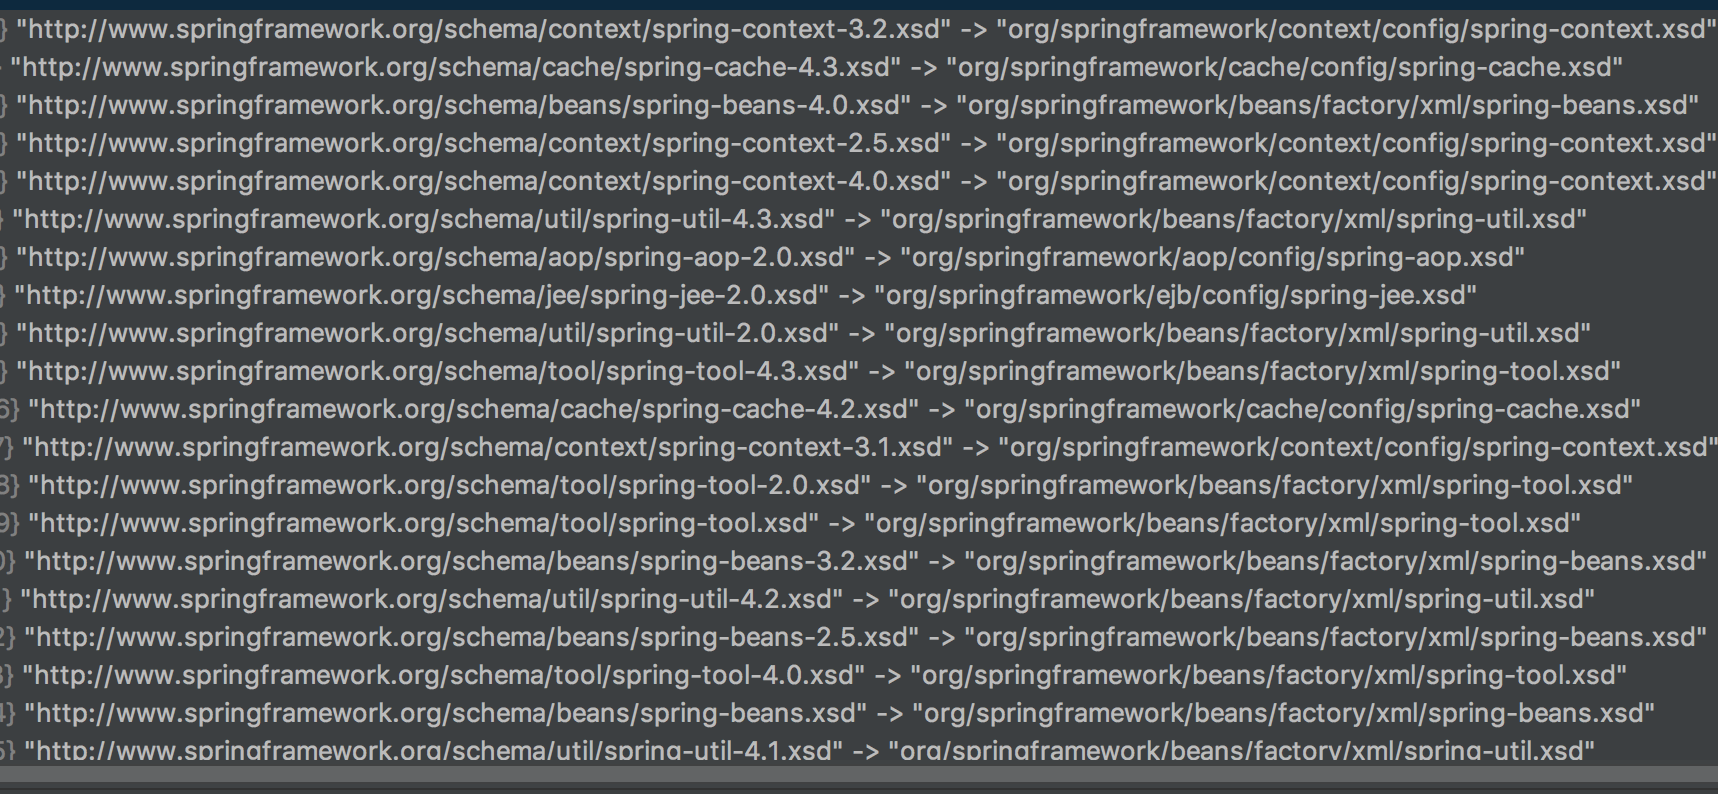
首先调用 getSchemaMappings() 获取一个映射表(systemId 与其在本地的对照关系),然后根据传入的 systemId 获取该 systemId 在本地的路径 resourceLocation,最后根据 resourceLocation 构造 InputSource 对象。 映射表如下(部分):
Java 面试宝典是大明哥全力打造的 Java 精品面试题,它是一份靠谱、强大、详细、经典的 Java 后端面试宝典。它不仅仅只是一道道面试题,而是一套完整的 Java 知识体系,一套你 Java 知识点的扫盲贴。
它的内容包括:
- 大厂真题:Java 面试宝典里面的题目都是最近几年的高频的大厂面试真题。
- 原创内容:Java 面试宝典内容全部都是大明哥原创,内容全面且通俗易懂,回答部分可以直接作为面试回答内容。
- 持续更新:一次购买,永久有效。大明哥会持续更新 3+ 年,累计更新 1000+,宝典会不断迭代更新,保证最新、最全面。
- 覆盖全面:本宝典累计更新 1000+,从 Java 入门到 Java 架构的高频面试题,实现 360° 全覆盖。
- 不止面试:内容包含面试题解析、内容详解、知识扩展,它不仅仅只是一份面试题,更是一套完整的 Java 知识体系。
- 宝典详情:https://www.yuque.com/chenssy/sike-java/xvlo920axlp7sf4k
- 宝典总览:https://www.yuque.com/chenssy/sike-java/yogsehzntzgp4ly1
- 宝典进展:https://www.yuque.com/chenssy/sike-java/en9ned7loo47z5aw
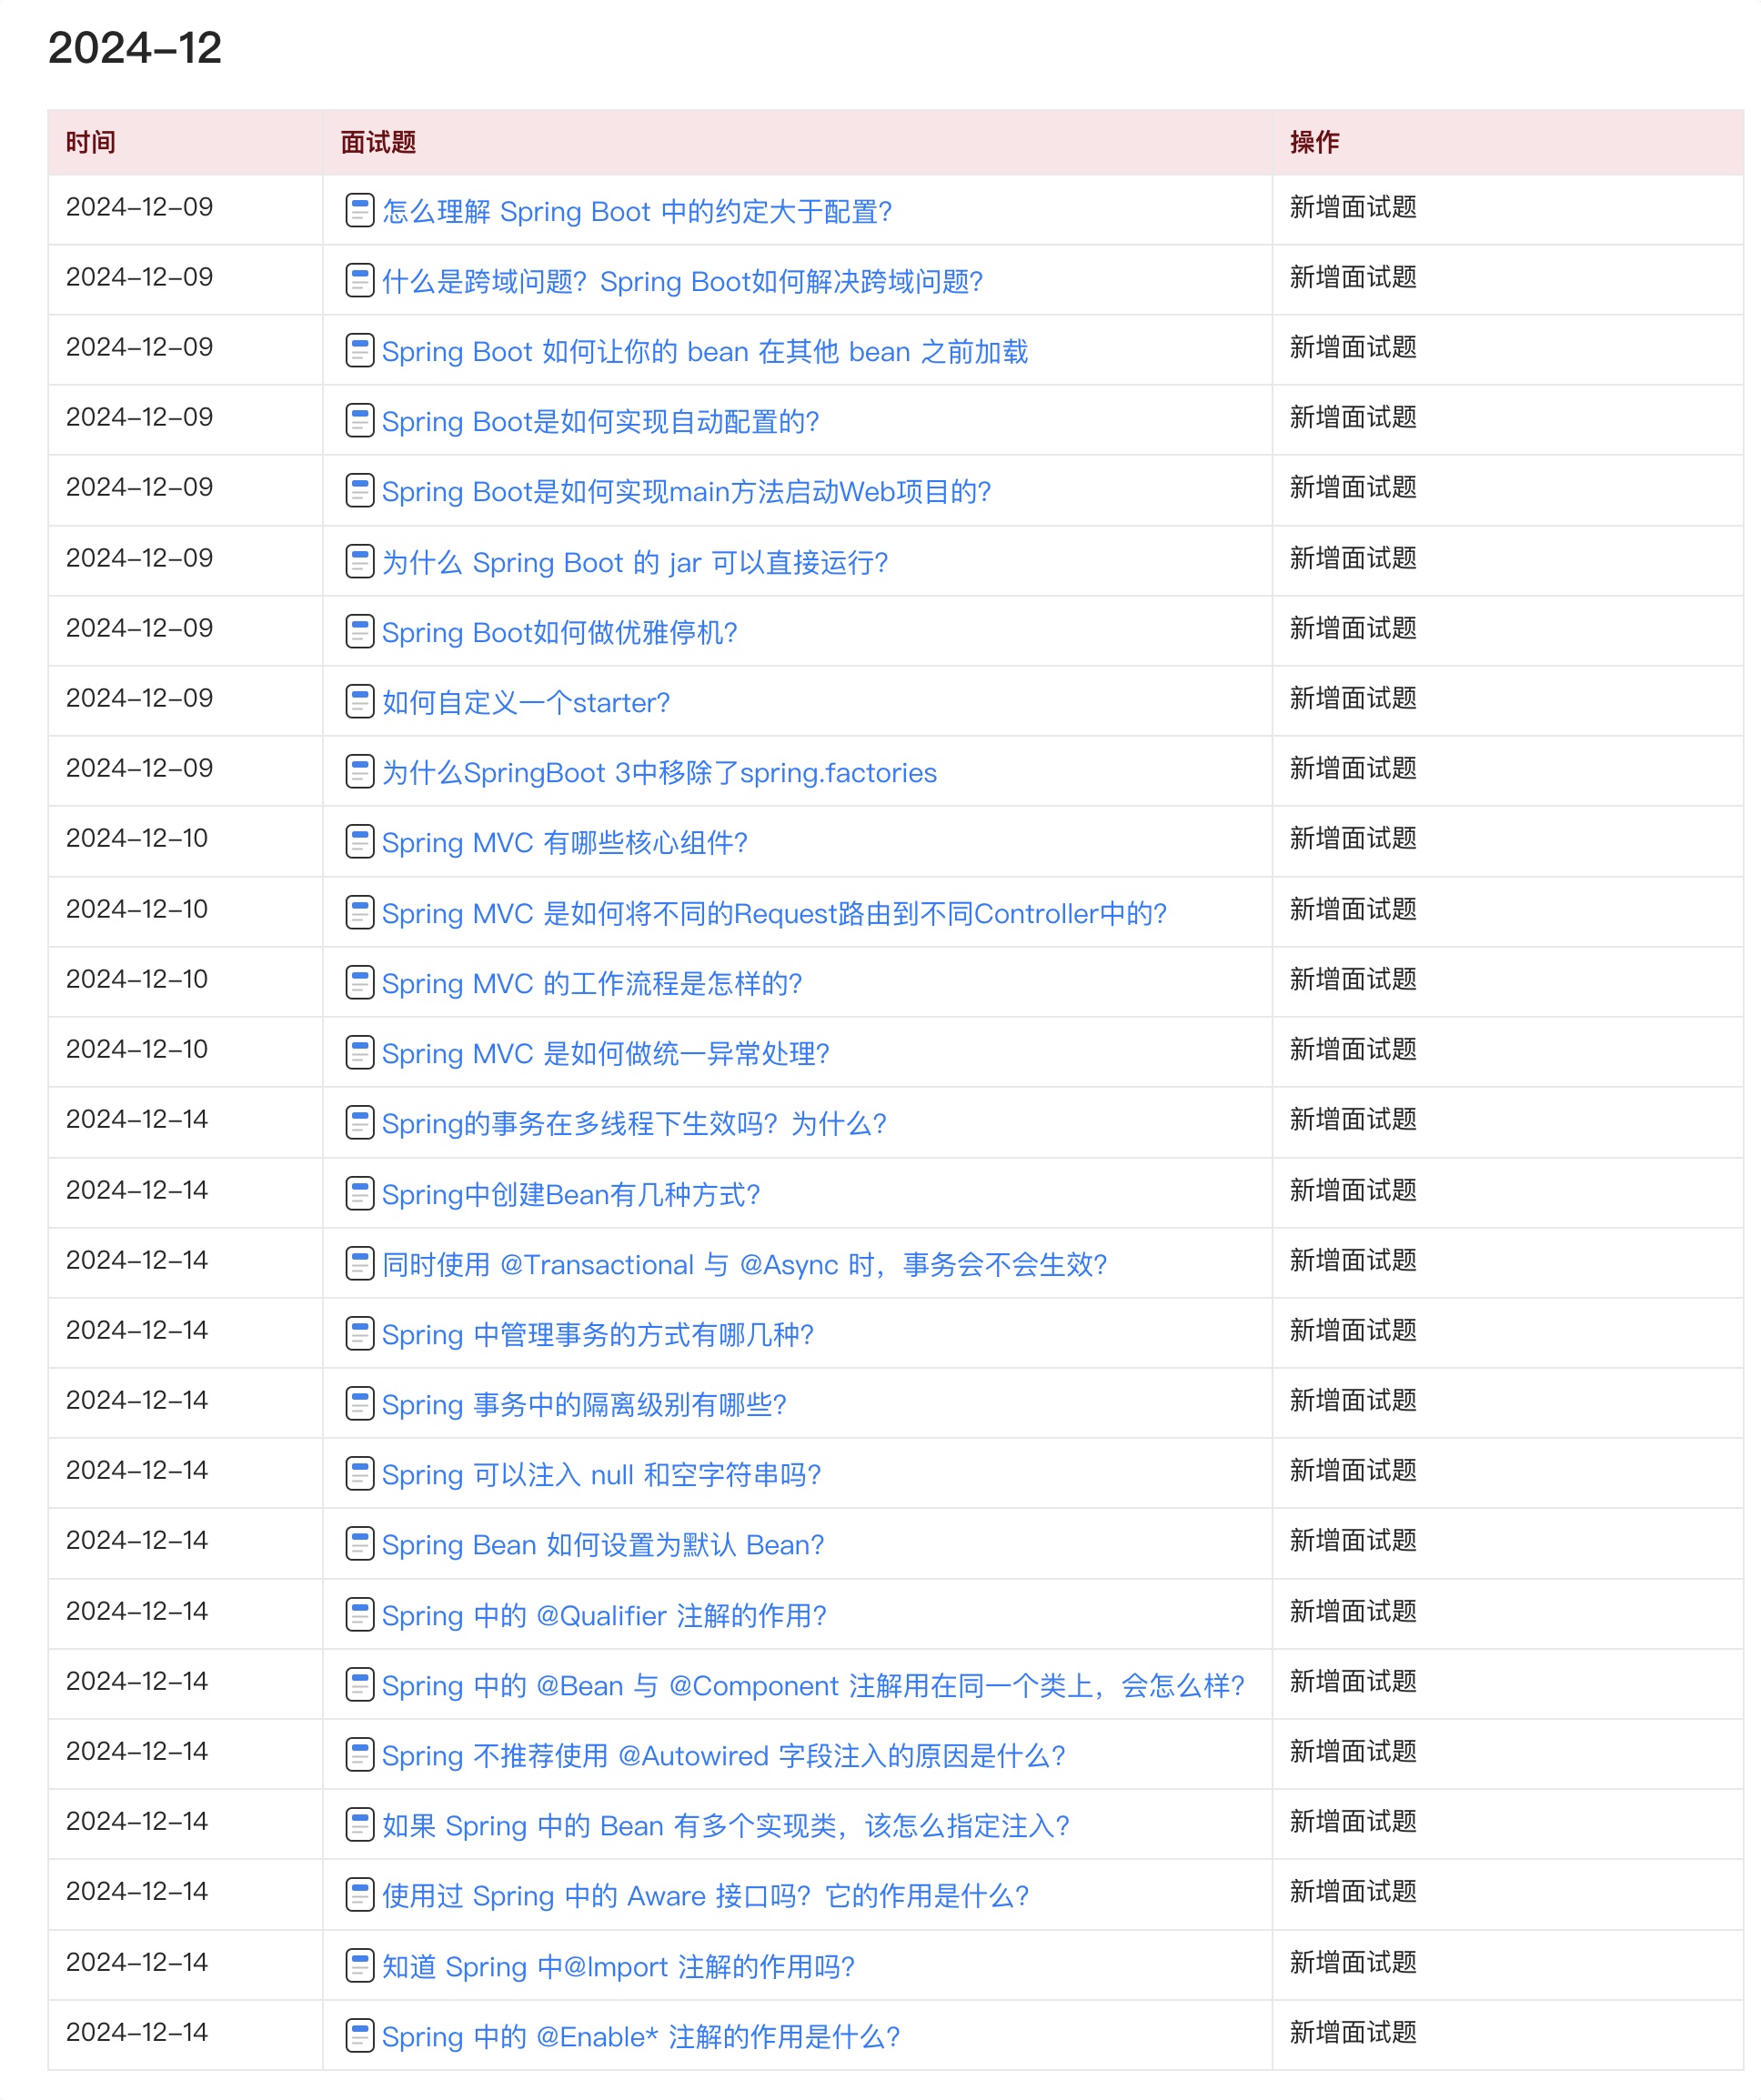
目前 Java 面试宝典累计更新 400+ 道,总字数 42w+。大明哥还在持续更新中,下图是大明哥在 2024-12 月份的更新情况:
想了解详情的小伙伴,扫描下面二维码加大明哥微信【daming091】咨询

同时,大明哥也整理一套目前市面最常见的热点面试题。微信搜[大明哥聊 Java]或扫描下方二维码关注大明哥的原创公众号[大明哥聊 Java] ,回复【面试题】 即可免费领取。