无论是与Feign整合,还是独立使用Hystrix,最终都会调用HystrixCommand.execute()触发Hystrix的工作流程。所以对源码的分析最终回到了Netflix Hystrix本身。从本章开始,我将直接分析Netflix Hystrix的源码,我们先从HystrixCommand开始,重点关注它的核心逻辑,忽略与RxJava相关的代码。
这么说不是很准确,HystrixCommand提供了四种执行方法,但底层是一样的,本章仅以exetute进行分析。关于Hystrix的底层工作机制,最好的参考资料就是Netflix的官方文档:https://github.com/Netflix/Hystrix/wiki/How-it-Works,建议各位把官方文档看完再来看我的文章。
一、HystrixCommand初始化
HystrixCommand本身的源码是比较简单的,复杂点在于它的父类AbstractCommand。我们先从HystrixCommand的初始化构造开始。当我们构建具体的HystrixCommand对象时,最终会调用AbstractCommand的构造器:
    protected AbstractCommand(HystrixCommandGroupKey group, HystrixCommandKey key,
                              HystrixThreadPoolKey threadPoolKey, HystrixCircuitBreaker circuitBreaker,
                              HystrixThreadPool threadPool,
                              HystrixCommandProperties.Setter commandPropertiesDefaults,
                              HystrixThreadPoolProperties.Setter threadPoolPropertiesDefaults,
                              HystrixCommandMetrics metrics, TryableSemaphore fallbackSemaphore,
                              TryableSemaphore executionSemaphore,
                              HystrixPropertiesStrategy propertiesStrategy,
                              HystrixCommandExecutionHook executionHook) {

        // 设置groupKey、commandKey、threadPoolKey、Command属性
        this.commandGroup = initGroupKey(group);
        this.commandKey = initCommandKey(key, getClass());
        this.properties = initCommandProperties(this.commandKey, propertiesStrategy,
                                                commandPropertiesDefaults);
        this.threadPoolKey = initThreadPoolKey(threadPoolKey, this.commandGroup, this.properties.executionIsolationThreadPoolKeyOverride().get());

        // 初始化HystrixCommandMetrics,用于统计调用信息(用于熔断)
        this.metrics = initMetrics(metrics, this.commandGroup, this.threadPoolKey,
                                   this.commandKey, this.properties);
        // 初始化断路器
        this.circuitBreaker = initCircuitBreaker(this.properties.circuitBreakerEnabled().get(),
                                                 circuitBreaker, this.commandGroup, this.commandKey,
                                                 this.properties, this.metrics);
        // 初始化线程池
        this.threadPool = initThreadPool(threadPool, this.threadPoolKey, threadPoolPropertiesDefaults);

        //Strategies from plugins
        this.eventNotifier = HystrixPlugins.getInstance().getEventNotifier();
        this.concurrencyStrategy = HystrixPlugins.getInstance().getConcurrencyStrategy();
        HystrixMetricsPublisherFactory.createOrRetrievePublisherForCommand(this.commandKey,
                                                                           this.commandGroup,
                                                                           this.metrics,
                                                                           this.circuitBreaker,
                                                                           this.properties);
        this.executionHook = initExecutionHook(executionHook);
        // 请求缓存
        this.requestCache = HystrixRequestCache.getInstance(this.commandKey, this.concurrencyStrategy);
        // 请求日志
        this.currentRequestLog = initRequestLog(this.properties.requestLogEnabled().get(),
                                                this.concurrencyStrategy);

        /* fallback semaphore override if applicable */
        this.fallbackSemaphoreOverride = fallbackSemaphore;

        /* execution semaphore override if applicable */
        this.executionSemaphoreOverride = executionSemaphore;
    }
上面构造器的核心功能就是断路器、线程池的初始化。
二、HystrixCommand执行
接着,我们再来看HystrixCommand的执行流程。我省略了很多代码,我们重点关注HystrixCommand.execute()的整体执行流程。我下面要讲解的内容就是Hystrix官方的这张图,可以先看下以便有个印象:

2.1 AbstractCommand
HystrixCommand.execute()的内部调用了HystrixCommand.queue().get(),而HystrixCommand.queue()返回的是一个Future对象,这个Future对象的get方法实际是调用了toObservable().toBlocking().toFuture().get();:
    public abstract class HystrixCommand<R> extends AbstractCommand<R>
        implements HystrixExecutable<R>, HystrixInvokableInfo<R>, HystrixObservable<R> {

        //...省略构造器

        // Setter用于对HystrixCommand进行参数配置
        final public static class Setter {
            protected final HystrixCommandGroupKey groupKey;
            protected HystrixCommandKey commandKey;
            protected HystrixThreadPoolKey threadPoolKey;
            protected HystrixCommandProperties.Setter commandPropertiesDefaults;
            protected HystrixThreadPoolProperties.Setter threadPoolPropertiesDefaults;
            //...省略一堆设置属性的方法
        }

        private final AtomicReference<Thread> executionThread = new AtomicReference<Thread>();
        private final AtomicBoolean interruptOnFutureCancel = new AtomicBoolean(false);

        // 核心执行方法,子类实现,这个方法最终会在execute()/queue()方法执行时被唤起
        protected abstract R run() throws Exception;

        // 降级逻辑,子类实现
        protected R getFallback() {
            throw new UnsupportedOperationException("No fallback available.");
        }

        // 同步执行方法
        public R execute() {
            try {
                return queue().get();
            } catch (Exception e) {
                throw Exceptions.sneakyThrow(decomposeException(e));
            }
        }

        // 异步执行方法
        public Future<R> queue() {
            // 原生的情况下,Future是不支持cancel()方法中止执行线程的,所以用delegate包装下
            final Future<R> delegate = toObservable().toBlocking().toFuture();
            final Future<R> f = new Future<R>() {
                @Override
                public R get() throws InterruptedException, ExecutionException {
                    return delegate.get();
                }
                //...
            };

            if (f.isDone()) {
                try {
                    f.get();
                    return f;
                } catch (Exception e) {
                   //...
                }
            }
            return f;
        }
        //...
    }
真是绕得一批,还是借用Hystrix官方的图来表述比较清晰:

可以看到当我们调用HystrixCommand.execute()时,最终会触发Observable.toBlocking().toFuture().get()的执行,阻塞获取结果。
Observable是RxJava中的东西,我不想过多讲解,现在你只要知道,HystrixCommand内部调用的是父类AbstractCommand的toObservable()。
2.2 请求缓存
我们来看下AbstractCommand.toObservable()的执行逻辑:
    // AbstractCommand.java

    public Observable<R> toObservable() {
        // _cmd指向HystrixCommand的具体实现对象
        final AbstractCommand<R> _cmd = this;

        // ...

        final Func0<Observable<R>> applyHystrixSemantics = new Func0<Observable<R>>() {
            @Override
            public Observable<R> call() {
                if (commandState.get().equals(CommandState.UNSUBSCRIBED)) {
                    return Observable.never();
                }
                // 关键:这里执行Command的主流程
                return applyHystrixSemantics(_cmd);
            }
        };

        return Observable.defer(new Func0<Observable<R>>() {
            @Override
            public Observable<R> call() {
                //...

                final boolean requestCacheEnabled = isRequestCachingEnabled();
                // 1.获取缓存Key
                final String cacheKey = getCacheKey();

                // 2.如果开启了Hystrix缓存功能,先尝试从缓存中获取
                if (requestCacheEnabled) {
                    HystrixCommandResponseFromCache<R> fromCache =
                        (HystrixCommandResponseFromCache<R>) requestCache.get(cacheKey);
                    if (fromCache != null) {
                        isResponseFromCache = true;
                        return handleRequestCacheHitAndEmitValues(fromCache, _cmd);
                    }
                }

                // 3.缓存中获取不到,触发applyHystrixSemantics执行
                Observable<R> hystrixObservable =
                    Observable.defer(applyHystrixSemantics)
                    .map(wrapWithAllOnNextHooks);

                // 4.将执行结果缓存
                Observable<R> afterCache;
                if (requestCacheEnabled && cacheKey != null) {
                    HystrixCachedObservable<R> toCache = HystrixCachedObservable
                        .from(hystrixObservable, _cmd);
                    HystrixCommandResponseFromCache<R> fromCache = (HystrixCommandResponseFromCache<R>)
                        requestCache.putIfAbsent(cacheKey, toCache);
                    //...
                } else {
                    afterCache = hystrixObservable;
                }

                return afterCache
                    .doOnTerminate(terminateCommandCleanup)
                    .doOnUnsubscribe(unsubscribeCommandCleanup)
                    .doOnCompleted(fireOnCompletedHook);
            }
        });
    }
可以看到,上述方法的执行逻辑是:
- 如果开启了缓存功能,则首先尝试从缓存中获取结果,获取到则直接返回结果;
- 如果缓存中没有,则触发
applyHystrixSemantics()方法的执行,该方法会触发HystrixCommand的主执行流程; - 最后,如果开启了缓存,则将缓存结果并返回。
2.3 正常调用流程
接着,我们进入主流程,也就是AbstractCommand.applyHystrixSemantics()方法:
- 首先判断下熔断状态,如果断路器没打开就进入正常调用流程;
- 如果断路器打开了就走降级流程。
    // AbstractCommand.java

    private Observable<R> applyHystrixSemantics(final AbstractCommand<R> _cmd) {
        // 内部什么都没做
        executionHook.onStart(_cmd);

        // circuitBreaker熔断判断
        // 1.1 如果断路器未开启
        if (circuitBreaker.allowRequest()) {
            // 正常执行流程,隔离策略如果是线程池隔离,则什么都不做
            final TryableSemaphore executionSemaphore = getExecutionSemaphore();
            final AtomicBoolean semaphoreHasBeenReleased = new AtomicBoolean(false);
            final Action0 singleSemaphoreRelease = new Action0() {
                @Override
                public void call() {
                    if (semaphoreHasBeenReleased.compareAndSet(false, true)) {
                        executionSemaphore.release();
                    }
                }
            };

            final Action1<Throwable> markExceptionThrown = new Action1<Throwable>() {
                @Override
                public void call(Throwable t) {
                    // 异常时事件通知
                    eventNotifier.markEvent(HystrixEventType.EXCEPTION_THROWN, commandKey);
                }
            };

            // 对于线程池隔离,一定返回true
            if (executionSemaphore.tryAcquire()) {
                try {
                    executionResult = executionResult.setInvocationStartTime(System.currentTimeMillis());
                    // 关键是这里:executeCommandAndObserve
                    return executeCommandAndObserve(_cmd)
                        .doOnError(markExceptionThrown)
                        .doOnTerminate(singleSemaphoreRelease)
                        .doOnUnsubscribe(singleSemaphoreRelease);
                } catch (RuntimeException e) {
                    return Observable.error(e);
                }
            } else {
                // 信号量获取失败,则走降级策略
                return handleSemaphoreRejectionViaFallback();
            }
        }
        // 1.2 如果断路器已开启
        else {
            // 降级流程
            return handleShortCircuitViaFallback();
        }
    }
在上述的正常调用流程中,根据不同的 资源隔离策略 做了不同的处理,默认为 线程池隔离 策略,我们也主要关注这条线的执行逻辑。最终由executeCommandAndObserve这个方法触发调用:
    // AbstractCommand.java

    private Observable<R> executeCommandAndObserve(final AbstractCommand<R> _cmd) {
        final HystrixRequestContext currentRequestContext = HystrixRequestContext
            .getContextForCurrentThread();

           //...

        Observable<R> execution;
        // 关键看这里,方法executeCommandWithSpecifiedIsolation
        if (properties.executionTimeoutEnabled().get()) {
            execution = executeCommandWithSpecifiedIsolation(_cmd)
                .lift(new HystrixObservableTimeoutOperator<R>(_cmd));
        } else {
            execution = executeCommandWithSpecifiedIsolation(_cmd);
        }

        return execution.doOnNext(markEmits)
            .doOnCompleted(markOnCompleted)
            .onErrorResumeNext(handleFallback)
            .doOnEach(setRequestContext);
    }
executeCommandAndObserve方法内部调用了的AbstractCommand.executeCommandWithSpecifiedIsolation():
    // AbstractCommand.java

    private Observable<R> executeCommandWithSpecifiedIsolation(final AbstractCommand<R> _cmd) {
        // 1.线程池隔离
        if (properties.executionIsolationStrategy().get() == ExecutionIsolationStrategy.THREAD) {
            return Observable.defer(new Func0<Observable<R>>() {
                @Override
                public Observable<R> call() {
                    executionResult = executionResult.setExecutionOccurred();
                    if (!commandState.compareAndSet(CommandState.OBSERVABLE_CHAIN_CREATED,
                                                    CommandState.USER_CODE_EXECUTED)) {
                        return Observable.error(new IllegalStateException("execution attempted while in state : " + commandState.get().name()));
                    }

                    metrics.markCommandStart(commandKey, threadPoolKey, ExecutionIsolationStrategy.THREAD);

                    if (isCommandTimedOut.get() == TimedOutStatus.TIMED_OUT) {
                        return Observable.error(new RuntimeException("timed out before executing run()"));
                    }
                    if (threadState.compareAndSet(ThreadState.NOT_USING_THREAD, ThreadState.STARTED)) {
                        HystrixCounters.incrementGlobalConcurrentThreads();
                        threadPool.markThreadExecution();
                        endCurrentThreadExecutingCommand = Hystrix.
                            startCurrentThreadExecutingCommand(getCommandKey());
                        executionResult = executionResult.setExecutedInThread();
                        try {
                            executionHook.onThreadStart(_cmd);
                            executionHook.onRunStart(_cmd);
                            executionHook.onExecutionStart(_cmd);

                            // 关键是这里:getUserExecutionObservable
                            return getUserExecutionObservable(_cmd);
                        } catch (Throwable ex) {
                            return Observable.error(ex);
                        }
                    } else {
                        return Observable
                            .error(new RuntimeException("unsubscribed before executing run()"));
                    }
                }
            }).doOnTerminate(new Action0() {
                @Override
                public void call() {
                   //...
                }
            }).doOnUnsubscribe(new Action0() {
                @Override
                public void call() {
                   //...
                }
            }).subscribeOn(threadPool.getScheduler(new Func0<Boolean>() {
                @Override
                public Boolean call() {
                   //...
                }
            }));
        }
        // 信号量隔离
        else {
            //...
        }
    }
我省略了信号量隔离策略的代码,我们只关注executeCommandWithSpecifiedIsolation内部最核心的一行代码,也就是return getUserExecutionObservable(_cmd):,它内部最终会执行HystrixCommand.run():
    // AbstractCommand.java

    private Observable<R> getUserExecutionObservable(final AbstractCommand<R> _cmd) {
        Observable<R> userObservable;

        try {
            // 创建一个Observable对象
            userObservable = getExecutionObservable();
        } catch (Throwable ex) {
            userObservable = Observable.error(ex);
        }

        return userObservable
            .lift(new ExecutionHookApplication(_cmd))
            .lift(new DeprecatedOnRunHookApplication(_cmd));
    }
AbstractCommand内部又调用了getExecutionObservable(),来创建一个Observable对象,这个对象一旦被订阅,就会被线程池调度,并最终执行HystrixCommand.run():
    // HystrixCommand.java

    final protected Observable<R> getExecutionObservable() {
        return Observable.defer(new Func0<Observable<R>>() {
            @Override
            public Observable<R> call() {
                try {
                    // 触发HystrixCommand.run()方法的执行
                    return Observable.just(run());
                } catch (Throwable ex) {
                    return Observable.error(ex);
                }
            }
        }).doOnSubscribe(new Action0() {
            @Override
            public void call() {
                executionThread.set(Thread.currentThread());
            }
        });
    }
真相大白了,经过上面的分析HystrixCommand的主干调用流程应该比较清晰了(我忽略了RxJava的各种回调式代码):

总结一下,HystrixCommand执行execute方法后,最终会创建出一个Observable对象,然后订阅它,此时就会触发某个线程池去调度任务的执行,最终执行我们自定义的HystrixCommand.run()方法。
三、HystrixCommand调度
了解了HystrixCommand的执行流程,我们来思考一个问题: HystrixCommand到底是什么时候被线程池调度的,线程池又是如何去调用的呢?
还记得我们在构造HystrixCommand时,初始化了一个HystrixThreadPool吗?每一个threadPoolKey关联一个独立的线程池:
this.threadPool = initThreadPool(threadPool, this.threadPoolKey, threadPoolPropertiesDefaults);
3.1 HystrixThreadPool
HystrixThreadPool的具体实现如下,可以看到内部有一个缓存队列:
    static class HystrixThreadPoolDefault implements HystrixThreadPool {
        private static final Logger logger = LoggerFactory.getLogger(HystrixThreadPoolDefault.class);

        private final HystrixThreadPoolProperties properties;
        private final BlockingQueue<Runnable> queue;
        private final ThreadPoolExecutor threadPool;
        private final HystrixThreadPoolMetrics metrics;
        private final int queueSize;

        public HystrixThreadPoolDefault(HystrixThreadPoolKey threadPoolKey,
                                        HystrixThreadPoolProperties.Setter propertiesDefaults) {
            this.properties = HystrixPropertiesFactory.getThreadPoolProperties(threadPoolKey,
                                                                               propertiesDefaults);
            HystrixConcurrencyStrategy concurrencyStrategy =
                HystrixPlugins.getInstance().getConcurrencyStrategy();
            this.queueSize = properties.maxQueueSize().get();

            this.metrics = HystrixThreadPoolMetrics
                .getInstance(threadPoolKey,concurrencyStrategy.getThreadPool(threadPoolKey, properties),
                                                                properties);
            this.threadPool = this.metrics.getThreadPool();
            // 缓存队列
            this.queue = this.threadPool.getQueue();

            HystrixMetricsPublisherFactory.createOrRetrievePublisherForThreadPool(threadPoolKey,
                                                                                  this.metrics,
                                                                                  this.properties);
        }

        // 返回一个调度器,用于调度任务执行
        public Scheduler getScheduler(Func0<Boolean> shouldInterruptThread) {
            touchConfig();
            return new HystrixContextScheduler(HystrixPlugins.getInstance().getConcurrencyStrategy(),
                                               this, shouldInterruptThread);
        }
    }
3.2 HystrixContextScheduler
我们提交的任务最终会被HystrixContextScheduler调度:
    // HystrixCommand.java

    private Observable<R> executeCommandWithSpecifiedIsolation(final AbstractCommand<R> _cmd) {
        // 线程池隔离
        if (properties.executionIsolationStrategy().get() == ExecutionIsolationStrategy.THREAD) {
            return Observable.defer(new Func0<Observable<R>>() {
                @Override
                public Observable<R> call() {
                    //...
                }
                // 下面方法创建一个HystrixContextScheduler调度器,执行任务
            }).subscribeOn(threadPool.getScheduler(new Func0<Boolean>() {
                @Override
                public Boolean call() {
                    return properties.executionIsolationThreadInterruptOnTimeout().get() && _cmd.isCommandTimedOut.get() == TimedOutStatus.TIMED_OUT;
                }
            }));
        } else {
            //...省略信号量隔离逻辑
        }
    }
HystrixContextScheduler内部有一个Woker工作线程,真正负责任务的调度执行:
    public class HystrixContextScheduler extends Scheduler {

        private final HystrixConcurrencyStrategy concurrencyStrategy;
        private final Scheduler actualScheduler;
        private final HystrixThreadPool threadPool;

        public HystrixContextScheduler(Scheduler scheduler) {
            this.actualScheduler = scheduler;
            this.concurrencyStrategy = HystrixPlugins.getInstance().getConcurrencyStrategy();
            this.threadPool = null;
        }

        @Override
        public Worker createWorker() {
            return new HystrixContextSchedulerWorker(actualScheduler.createWorker());
        }

        // 工作线程
        private class HystrixContextSchedulerWorker extends Worker {
            @Override
            public Subscription schedule(Action0 action, long delayTime, TimeUnit unit) {
                if (threadPool != null) {
                    // 判断线程池是否已满
                    if (!threadPool.isQueueSpaceAvailable()) {
                        // 满了就抛出异常,走降级逻辑
                        throw new RejectedExecutionException("Rejected command because thread-pool queueSize is at rejection threshold.");
                    }
                }
                // 没有满就调度执行
                return worker.schedule(new HystrixContexSchedulerAction(concurrencyStrategy, action),
                                       delayTime, unit);
            }
        }
    }
四、总结
本章,我讲解了Hystrix的整体工作流程,忽略了很多分支,重点只关注正常请求流程。说实话,Hystrix的源码由于用了RxJava框架,可读性比较差,特别是国内对于RxJava框架的应用比较少,导致这块源码的分析更加困难,我们在阅读时只要抓住核心主干就好。
关于Hystrix的熔断、请求合并、请求缓存、调用统计的代码我就不再带着大家去分析了,因为基于RxJava实现的功能实在不太好通过文章的形式去讲解。读者可以自己打开IDE,根据Hystrix官方文档去阅读相应的代码。
Java 面试宝典是大明哥全力打造的 Java 精品面试题,它是一份靠谱、强大、详细、经典的 Java 后端面试宝典。它不仅仅只是一道道面试题,而是一套完整的 Java 知识体系,一套你 Java 知识点的扫盲贴。
它的内容包括:
- 大厂真题:Java 面试宝典里面的题目都是最近几年的高频的大厂面试真题。
- 原创内容:Java 面试宝典内容全部都是大明哥原创,内容全面且通俗易懂,回答部分可以直接作为面试回答内容。
- 持续更新:一次购买,永久有效。大明哥会持续更新 3+ 年,累计更新 1000+,宝典会不断迭代更新,保证最新、最全面。
- 覆盖全面:本宝典累计更新 1000+,从 Java 入门到 Java 架构的高频面试题,实现 360° 全覆盖。
- 不止面试:内容包含面试题解析、内容详解、知识扩展,它不仅仅只是一份面试题,更是一套完整的 Java 知识体系。
- 宝典详情:https://www.yuque.com/chenssy/sike-java/xvlo920axlp7sf4k
- 宝典总览:https://www.yuque.com/chenssy/sike-java/yogsehzntzgp4ly1
- 宝典进展:https://www.yuque.com/chenssy/sike-java/en9ned7loo47z5aw
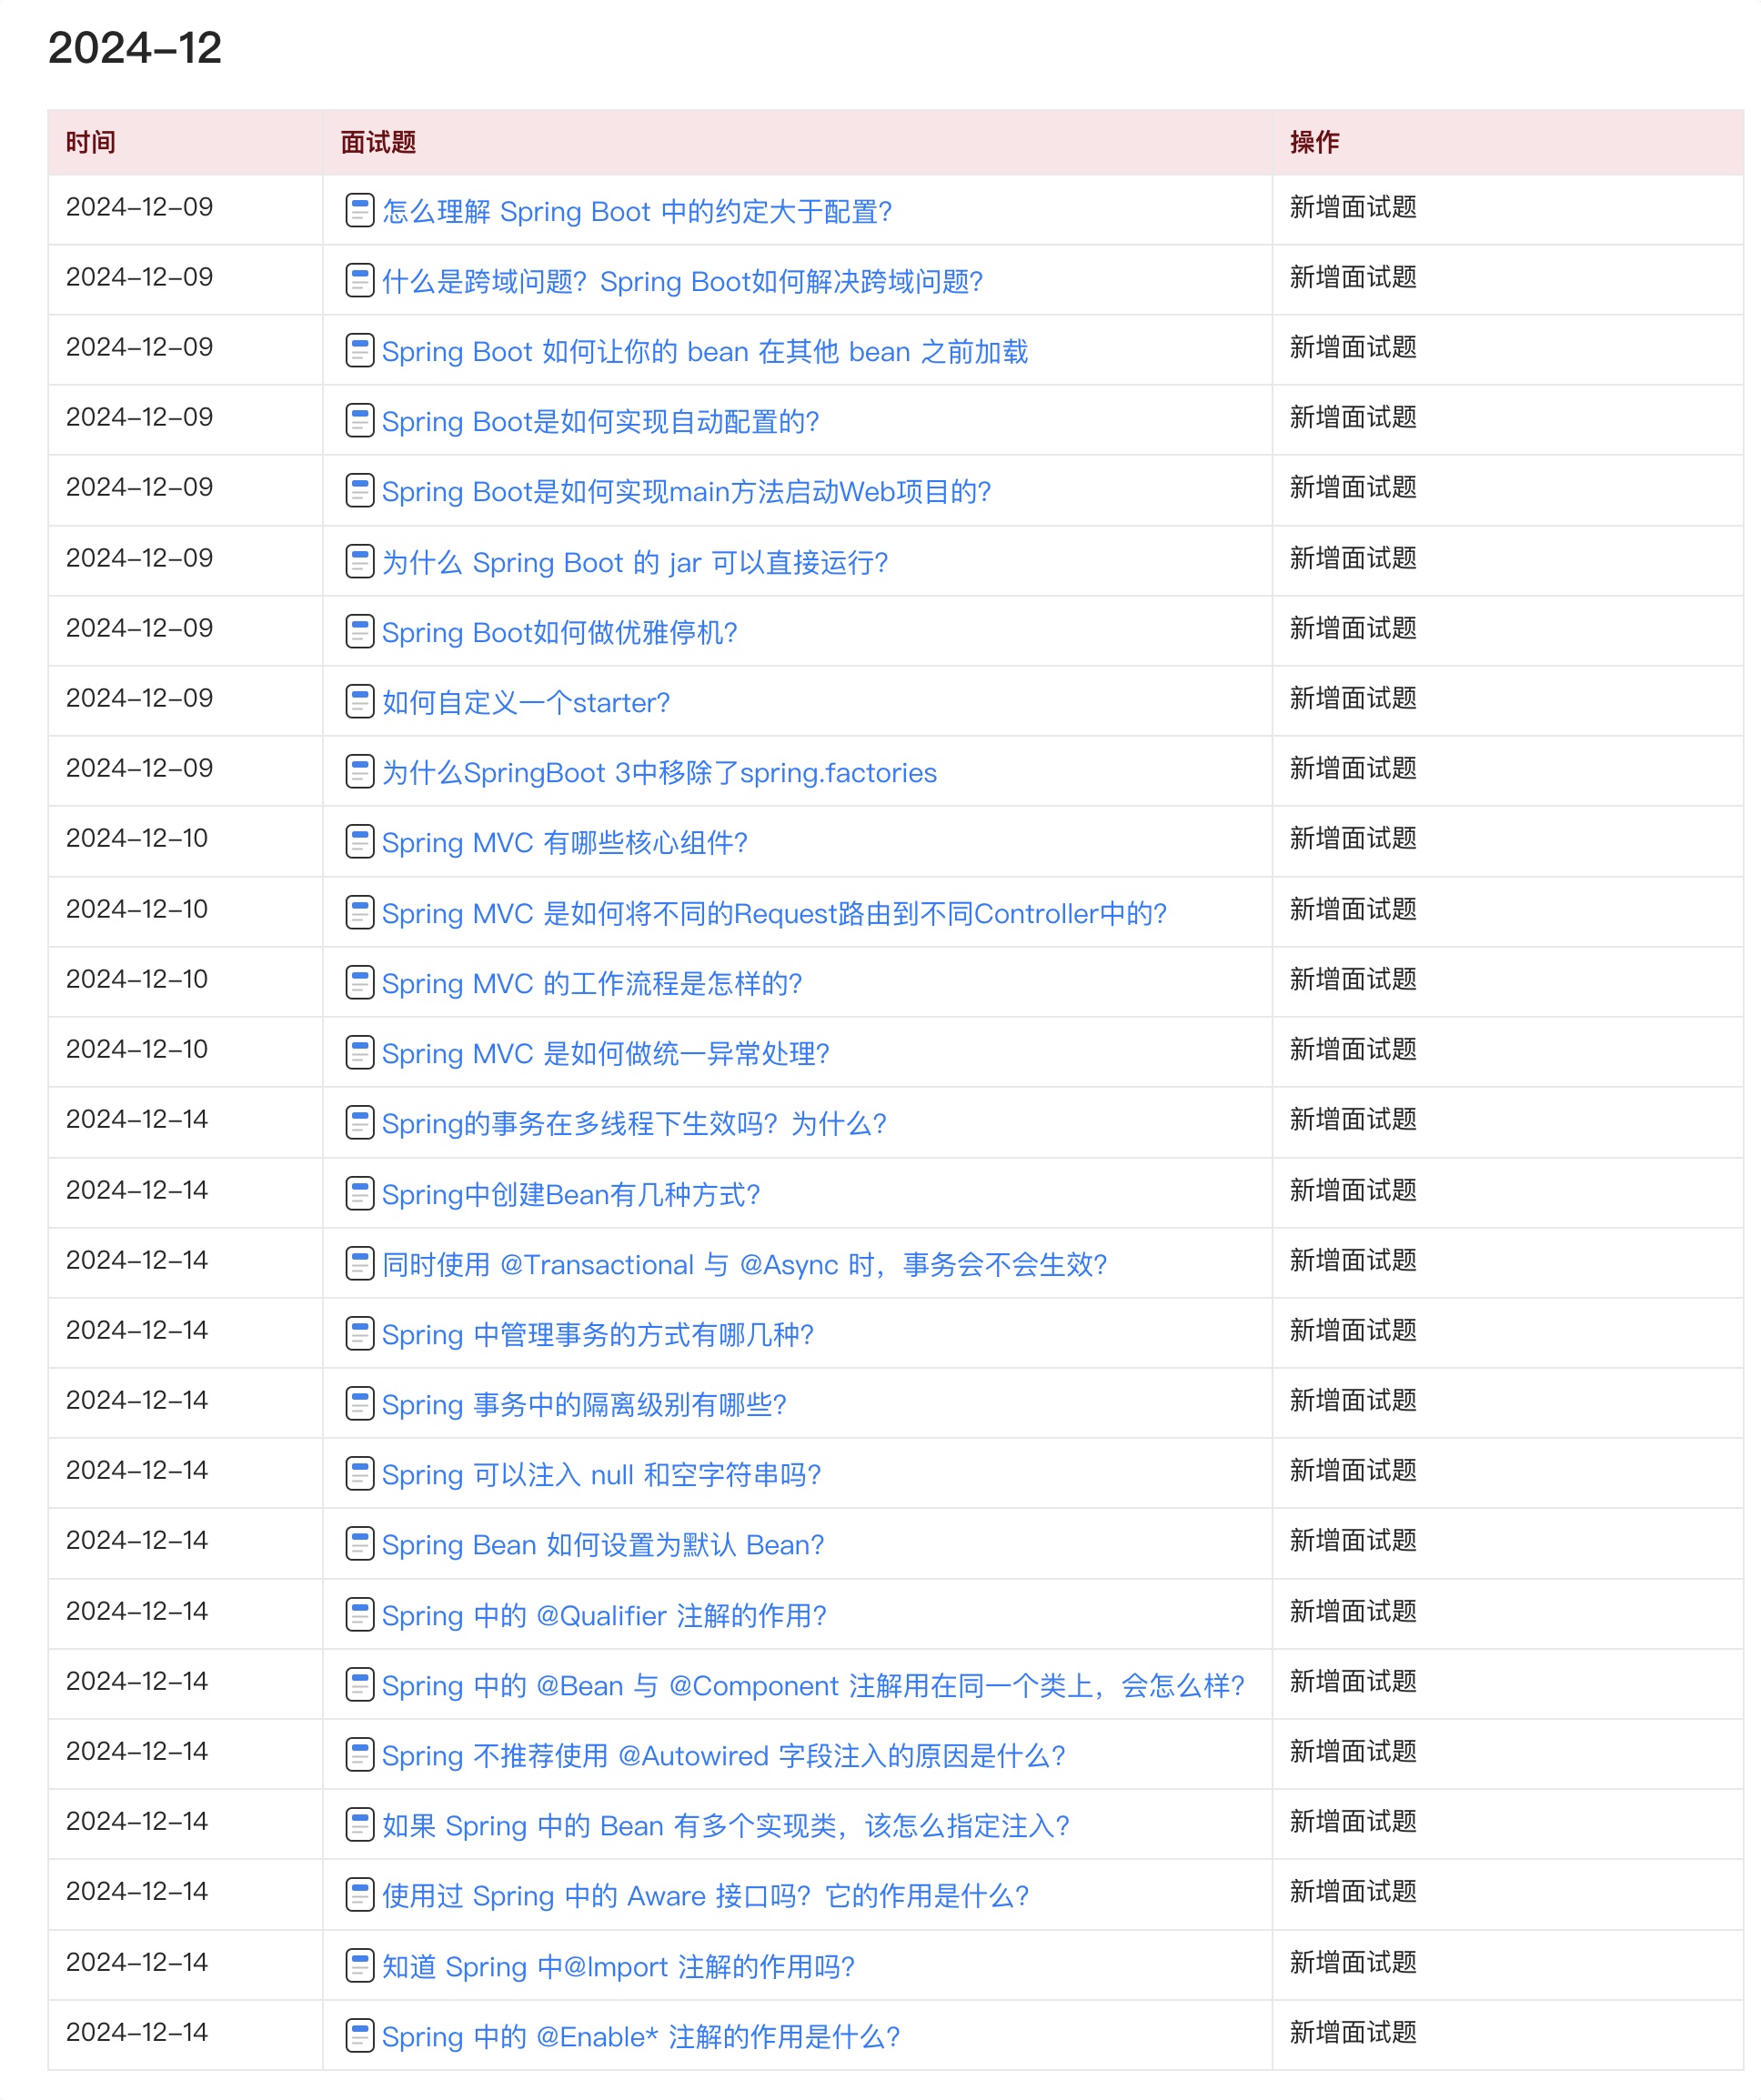
目前 Java 面试宝典累计更新 400+ 道,总字数 42w+。大明哥还在持续更新中,下图是大明哥在 2024-12 月份的更新情况:
想了解详情的小伙伴,扫描下面二维码加大明哥微信【daming091】咨询

同时,大明哥也整理一套目前市面最常见的热点面试题。微信搜[大明哥聊 Java]或扫描下方二维码关注大明哥的原创公众号[大明哥聊 Java] ,回复【面试题】 即可免费领取。