实现标准的OAuth服务提供商
写在app中,所以demo项目的依赖需要修改下
    dependencies {
    //    compile project(':security-browser') // 开发app,先暂时注释掉
        compile project(':security-app')

    本次依赖更改出错的地方有:

    cn.mrcode.imooc.springsecurity.securitycore.validate.code.ValidateCodeFilter
    中需要两个处理器,在app中先复制一份出来

    com.example.demo.security.MyUserDetailsService#passwordEncoder
    passwordEncoder 之前写在browser的,抽取到core里面
依赖
    // security自动配置
    // 以及包含了 spring-cloud-start,spring-cloud-security 、spring-boot-starter-actuator
    // security 5+ 去掉了可以在配置文件中关闭security的配置,所以这里在视频中配置关闭的时候
    // 我们在这里注释掉依赖就可以了
    //    compile('org.springframework.cloud:spring-cloud-starter-security')
    // 多包涵了一个spring-security-oauth2-autoconfigure
    compile('org.springframework.cloud:spring-cloud-starter-oauth2')
认证服务器
    package cn.mrcode.imooc.springsecurity.securityapp;

    import org.springframework.context.annotation.Configuration;
    import org.springframework.security.oauth2.config.annotation.web.configuration.EnableAuthorizationServer;

    @Configuration
    @EnableAuthorizationServer  // 添加一个配置类即可
    public class MyAuthorizationServerConfig {
    }
启动项目会自动增加以下几个控制器
    "{[/oauth/authorize]}"
    "{[/oauth/authorize],methods=[POST],
    "{[/oauth/token],methods=[GET]}"
    "{[/oauth/token],methods=[POST]}"
    "{[/oauth/check_token]}"
    "{[/oauth/confirm_access]}"
    "{[/oauth/error]}"
且在控制台会打印一个默认的clientid(每次都动态生成)
    security.oauth2.client.client-id = 666b1e3c-bbec-4a6c-86ca-3387dd113519
    security.oauth2.client.client-secret = eea6a558-ce58-4d82-b553-b70406005c8b

    可以修改成固定的,方便后面的调试

    security:
      oauth2:
        client:
          client-id: myid
          client-secret: myid
授权码模式-授权
由于spring oath2实现的是标准的oat2协议,所以参数什么的一般可以参考官网文档,如上链接。
获得授权部分
需要在浏览器中访问(因为有跳转):访问以下地址缺报错了。
    http://localhost:8080/oauth/authorize?response_type=code&client_id=myid&redirect_uri=http://www.example.com&scope=all

    There was an unexpected error (type=Internal Server Error, status=500).
    User must be authenticated with Spring Security before authorization can be completed.

    不知道为什么一直走
    org.springframework.security.web.authentication.AnonymousAuthenticationFilter#doFilter

    在这个报错的地方很容易找到,里面说必须要经过security的安全认证。

    现在终于串联起来了。之前看到过一篇文章在WebSecurityConfigurerAdapter配置类中打开了运行表单认证
    然后就可以访问了。原来是这样。视频中的版本是直接默认basic认证的,所以不需要配置什么;
    @Override
           public void configure(AuthorizationServerSecurityConfigurer oauthServer) throws Exception {
               //允许表单认证
               oauthServer.allowFormAuthenticationForClients();
           }
这里收必须要经过security认证才可以,视频中是直接跳出来一个 basic登录框。
* 重要的事情说三遍:security5+ 认证默认为表单了也就是http.formLogin() *
* 重要的事情说三遍:security5+ 认证默认为表单了也就是http.formLogin() *
* 重要的事情说三遍:security5+ 认证默认为表单了也就是http.formLogin() *
所以这里还需要把security的默认表单登录改成basic登录
    @Configuration
    public class MyWebSecurityConfigurerAdapter extends WebSecurityConfigurerAdapter {
        @Override
        protected void configure(HttpSecurity http) throws Exception {
            http.httpBasic();
        }
    }
再次登录再次报错:
error="invalid_request", error_description="At least one redirect_uri must be registered with the client."
报错点
    org.springframework.security.oauth2.provider.endpoint.DefaultRedirectResolver#resolveRedirect

    /**
     * The pre-defined redirect URI for this client to use during the "authorization_code" access grant. See OAuth spec,
     * section 4.1.1.
     *
     * @return The pre-defined redirect URI for this client.
     */
    Set<String> getRegisteredRedirectUri();
打开看了下规范,也没有太看明白。应该和qq登录那边一样的,需要设置一个授权回调域
而在代码中报错的地方调试最后发现
    org.springframework.boot.autoconfigure.security.oauth2.authserver.OAuth2AuthorizationServerConfiguration.BaseClientDetailsConfiguration#oauth2ClientDetails

    @Bean
            @ConfigurationProperties(prefix = "security.oauth2.client")
            public BaseClientDetails oauth2ClientDetails() {
                BaseClientDetails details = new BaseClientDetails();
                if (this.client.getClientId() == null) {
                    this.client.setClientId(UUID.randomUUID().toString());
                }
                details.setClientId(this.client.getClientId());
                details.setClientSecret(this.client.getClientSecret());
                details.setAuthorizedGrantTypes(Arrays.asList("authorization_code",
                        "password", "client_credentials", "implicit", "refresh_token"));
                details.setAuthorities(
                        AuthorityUtils.commaSeparatedStringToAuthorityList("ROLE_USER"));
                details.setRegisteredRedirectUri(Collections.<String>emptySet());
                return details;
            }
也就是说需要给client配置回调域
    security:
      oauth2:
        client:
          client-id: myid
          client-secret: myid
          registered-redirect-uri:
            - "http://example.com"
            - "http://ora.com"
再次访问,出现了久违的需要同意授权的页面,授权后,跳转到了
http://example.com/?code=CXf9ot
授权码模式-获取token
获取token的端点在
org.springframework.security.oauth2.provider.endpoint.TokenEndpoint#postAccessToken
只支持post请求,所以使用postman这样的工具发送;
发送的参数: 参考oath2文档:https://tools.ietf.org/html/rfc6749#section-4.1.3
* 唯一需要注意的是:* basic auth 填写用户名和密码的时候不是之前用admin和123登录的用户信息;
basic信息:是client信息
    client-id: myid
    client-secret: myid
    POST /oauth/token HTTP/1.1
    Host: localhost:8080
    Authorization: Basic bXlpZDpteWlk
    Content-Type: application/x-www-form-urlencoded

    参数如下:
    code=CXf9ot
    grant_type=authorization_code
    redirect_uri=http://example.com/
    client_id=myid
    scope=all
响应如下
    {
        "access_token": "2836f983-bbe8-41d4-a2e0-adcaf8cb495b",
        "token_type": "bearer",
        "refresh_token": "e6bbbf09-1fab-4676-8b0c-03afc843fb27",
        "expires_in": 43195,
        "scope": "all"
    }
密码授权模式
basic信息:是client信息
    POST /oauth/token HTTP/1.1
    Host: localhost:8080
    Authorization: Basic bXlpZDpteWlk
    Content-Type: application/x-www-form-urlencoded
    Cache-Control: no-cache
    Postman-Token: 56bd10f5-27fc-297e-047e-78f71bf89d94

    grant_type=password&redirect_uri=http%3A%2F%2Fwww.example.com&client_id=myid&scope=all&username=admin&password=123456
视频中说要添加一个 ROLE_USER 的角色;我这里特意UserDetails的角色赋值为null也可以,
但是在调试的时候发现 authorities 被赋值了一个 ROLE_USER
注:授权码模式和密码模式获取的token是同一个,因为他们都用到了相同的client信息和同一个用户名密码
下面的客户端模式,只用到了client信息没有用户信息,所以和前面的不一样
客户端模式
basic信息:是client信息
    POST /oauth/token HTTP/1.1
    Host: localhost:8080
    Content-Type: application/x-www-form-urlencoded
    Authorization: Basic bXlpZDpteWlk
    Cache-Control: no-cache
    Postman-Token: 17c7f491-401c-f80b-5db2-db1f13bce8d7

    grant_type=client_credentials&scope=all
资源服务器
注意: 不加资源服务器的时候,貌似任意服务都不能访问。不知道是不是配置了basic认证的问题
    package cn.mrcode.imooc.springsecurity.securitycore;

    import org.springframework.context.annotation.Configuration;
    import org.springframework.security.oauth2.config.annotation.web.configuration.EnableResourceServer;

    @Configuration
    @EnableResourceServer
    public class MyResourcesServerConfig {
    }
访问任何信息都会报错:Full authentication is required to access this resourceunauthorized
是因为没有携带token。
携带token访问资源
假设获取到token是
    {
        "access_token": "fdaf3e93-9da4-4e7c-a319-79d50c96b997",
        "token_type": "bearer",
        "expires_in": 42587,
        "scope": "all"
    }
访问资源:可使用get请求参数:
http://localhost:8080/user/me?access_token=99800232-2564-4c72-9aae-f5d8594c4707
或则使用请求头模式:
Authorization后面的 bearer就是对应上面返回的 token_type;后面是token
    GET /user/me HTTP/1.1
    Host: localhost:8080
    Authorization: bearer 99800232-2564-4c72-9aae-f5d8594c4707
Java 面试宝典是大明哥全力打造的 Java 精品面试题,它是一份靠谱、强大、详细、经典的 Java 后端面试宝典。它不仅仅只是一道道面试题,而是一套完整的 Java 知识体系,一套你 Java 知识点的扫盲贴。
它的内容包括:
- 大厂真题:Java 面试宝典里面的题目都是最近几年的高频的大厂面试真题。
- 原创内容:Java 面试宝典内容全部都是大明哥原创,内容全面且通俗易懂,回答部分可以直接作为面试回答内容。
- 持续更新:一次购买,永久有效。大明哥会持续更新 3+ 年,累计更新 1000+,宝典会不断迭代更新,保证最新、最全面。
- 覆盖全面:本宝典累计更新 1000+,从 Java 入门到 Java 架构的高频面试题,实现 360° 全覆盖。
- 不止面试:内容包含面试题解析、内容详解、知识扩展,它不仅仅只是一份面试题,更是一套完整的 Java 知识体系。
- 宝典详情:https://www.yuque.com/chenssy/sike-java/xvlo920axlp7sf4k
- 宝典总览:https://www.yuque.com/chenssy/sike-java/yogsehzntzgp4ly1
- 宝典进展:https://www.yuque.com/chenssy/sike-java/en9ned7loo47z5aw
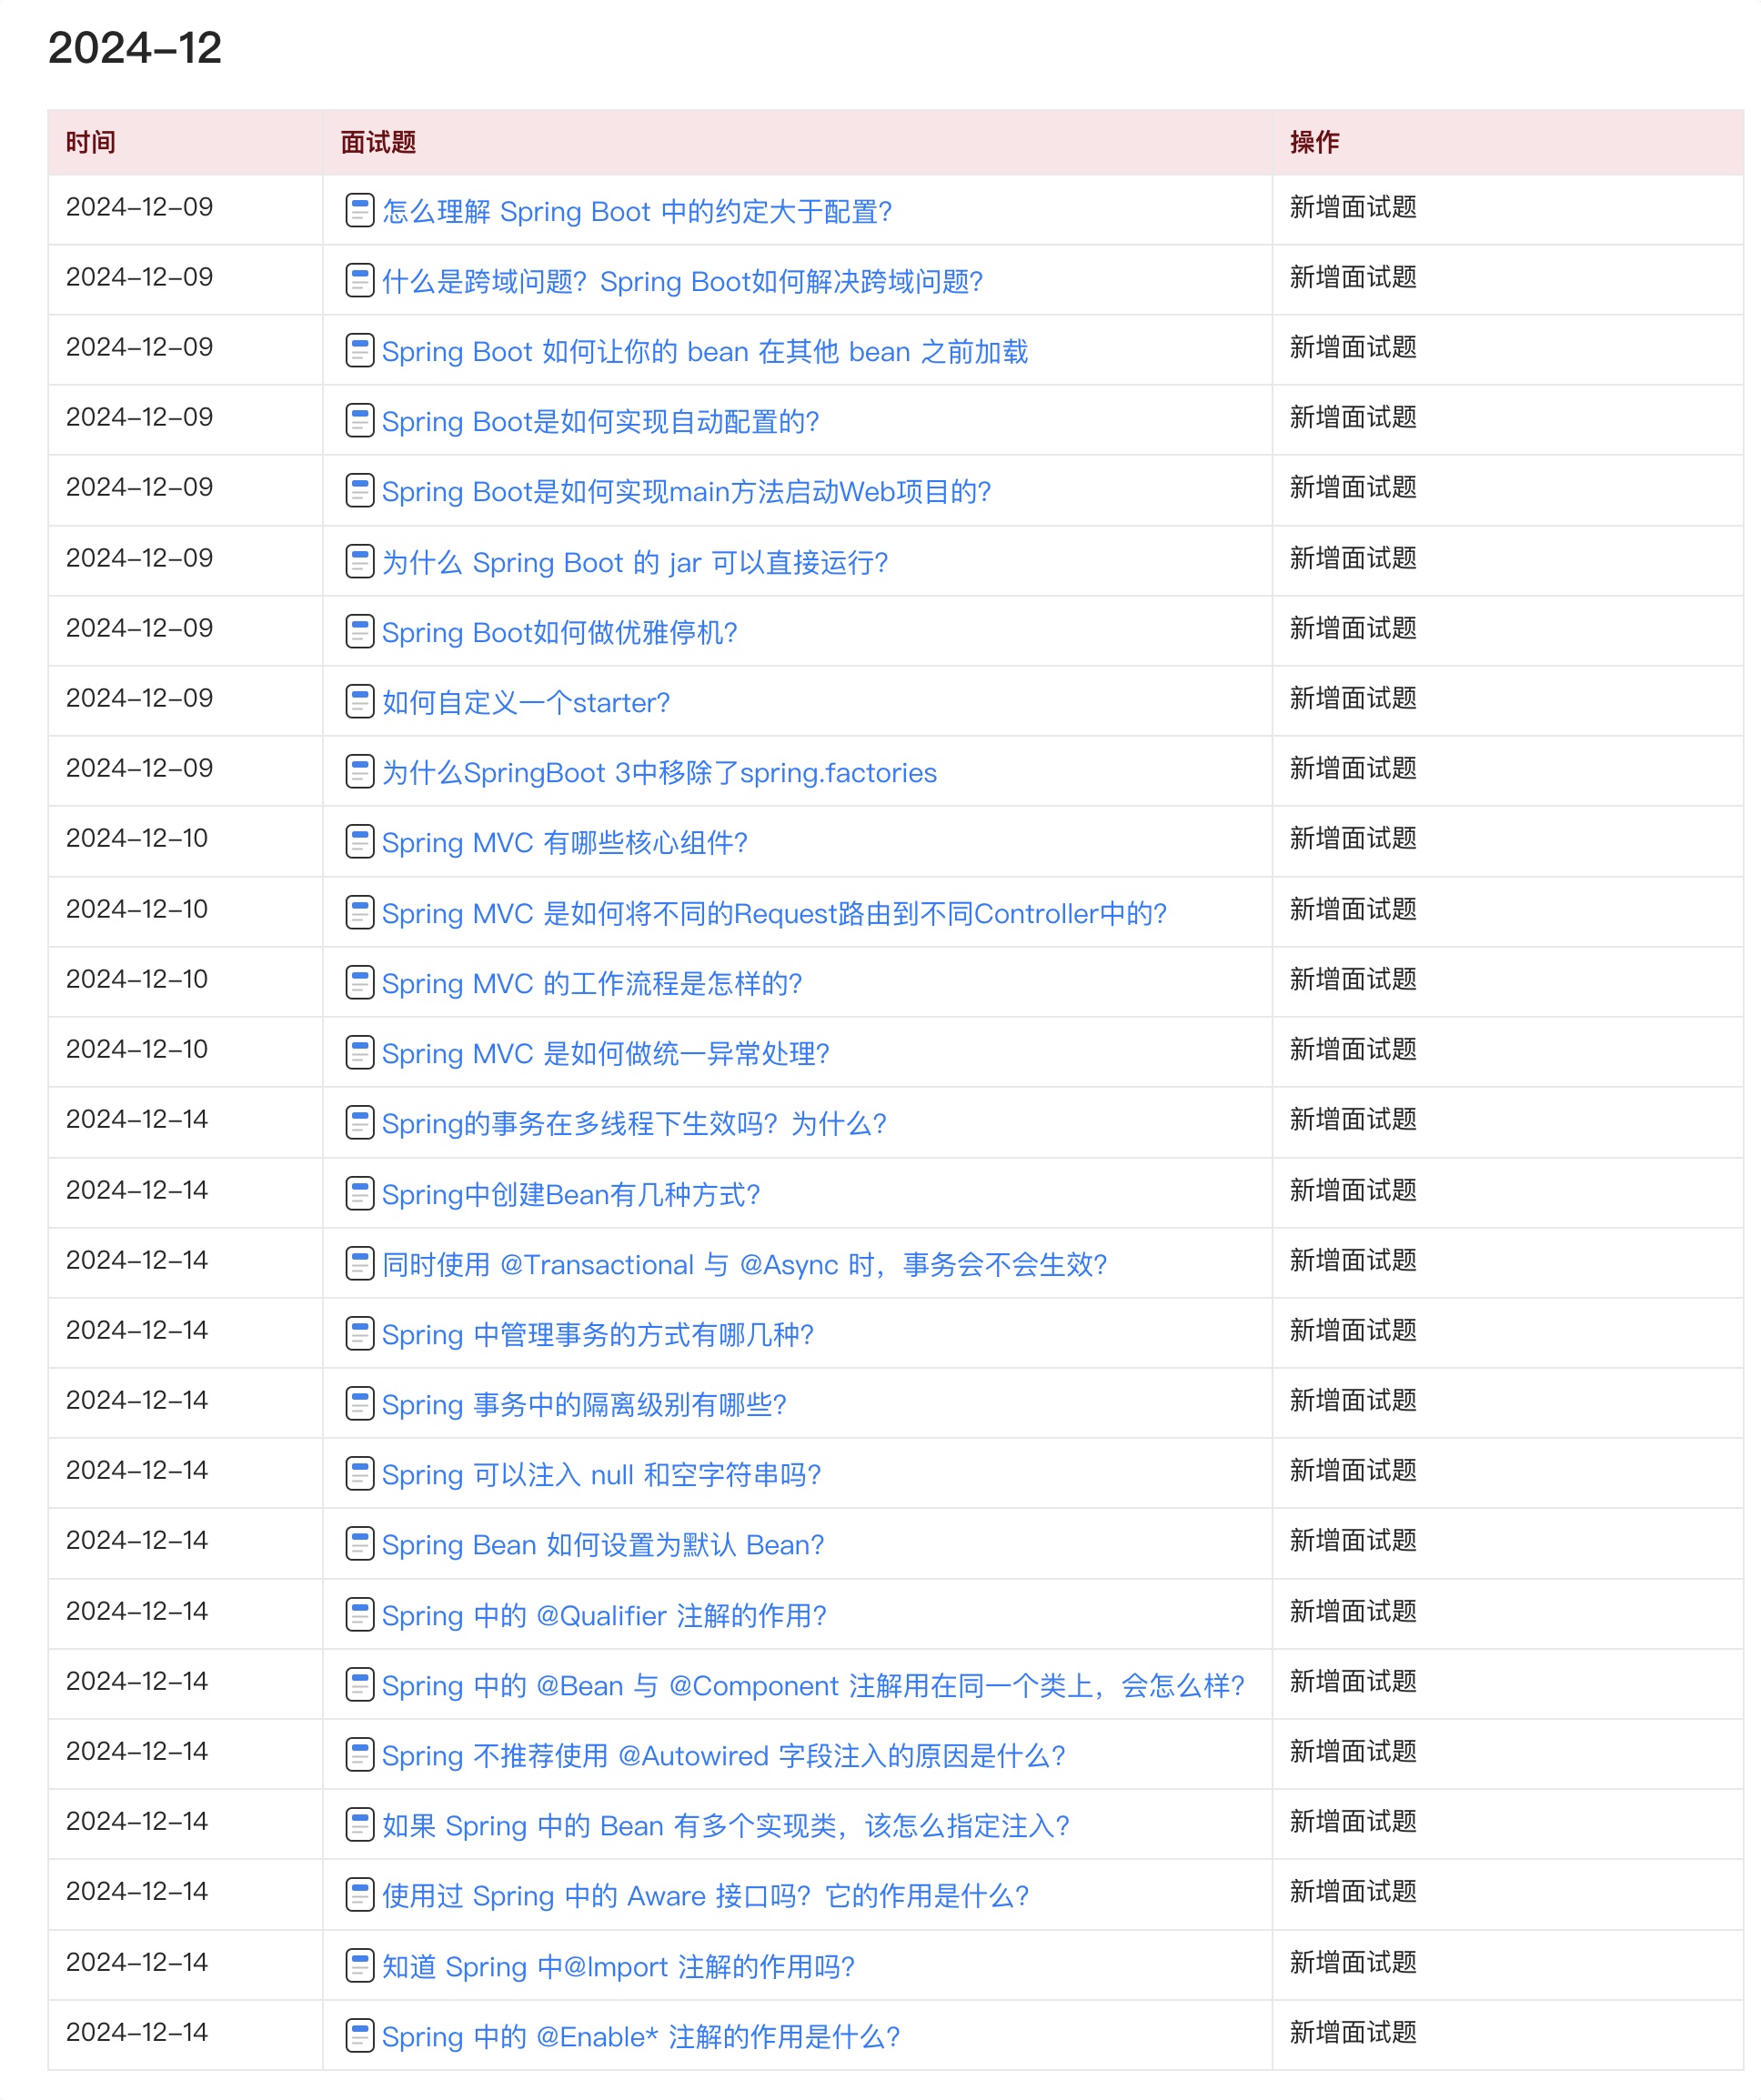
目前 Java 面试宝典累计更新 400+ 道,总字数 42w+。大明哥还在持续更新中,下图是大明哥在 2024-12 月份的更新情况:
想了解详情的小伙伴,扫描下面二维码加大明哥微信【daming091】咨询

同时,大明哥也整理一套目前市面最常见的热点面试题。微信搜[大明哥聊 Java]或扫描下方二维码关注大明哥的原创公众号[大明哥聊 Java] ,回复【面试题】 即可免费领取。